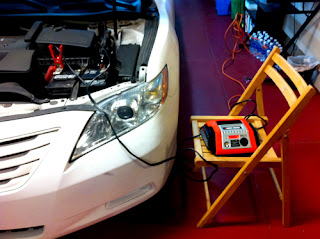
There are three settings you can have for the charger :
1) Smart Charging 2) Alternator Check 3) Engine Start
First step is to charge your battery by setting the dial to "Smart Charging"
Attach the clamps to the proper diodes on the battery.
Note : If you accidentally reverse this, the charger will catch this and display an error message.
Place a good distance between the charger and the battery.
Make sure there is enough ventilation during the charger process.
Plug the charger into an 110 V electrical outlet.
If you need to use an extension cord, make sure there's 3 prongs on the plug to ground the unit.
The charge will automatically detect the voltage of your battery and begin to charge.
Make sure there is enough ventilation during the charger process.
Plug the charger into an 110 V electrical outlet.
If you need to use an extension cord, make sure there's 3 prongs on the plug to ground the unit.
The charge will automatically detect the voltage of your battery and begin to charge.

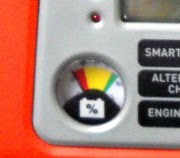
Look at the meter on the left to see how much charge you have left on your battery.
A full charge may take 5 hours
Once the battery is fully charged, unplug the charger
Set the dial on the charger to "Alternator check"

Plug the charger back in
Start up your engine
Look at the LCD display to see if it says "Alternator good" or "Alternator faulty"
If it's good, then turn on your fan, radio and lights. Do not turn on the A/C or defrost.
Look at the alternator's status on the LCD display again
Even after a full charge, you have problems starting up the car
Unplug the charger and set the dial to "Engine Start"
Plug in the charger and start up your car.
Note : Each time you start the engine, the charger needs a five minute cooling time period.
This will be indicated on the LCD display
Written by : Johnson Huynh


No comments:
Post a Comment